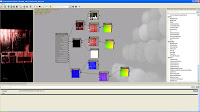
 so here ive combined two textures the first is the main door texture which is the main texture on the mesh, and the 2nd is the blood texture which i made in photoshop and combined the two using a multiple node in UDK and then simply used the Panner node to move the blood texture down the door, i also combined the normal texture for both and used a panner on the blood to try and make the blood look proud of the door.
ok now ive got my blood texture the next step was to see if i could animate a emissive light shining through a window.I have used a alpha texture to give me an opacity on the window glass and then i used a Rotator node in UDK combined with a simple cloud texture that i found in UDK
 and heres a breakdown in UDK of how i built this ,note the Rotator node has its own values of X and Y and initial speed , which you can play about with to get varying results
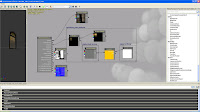
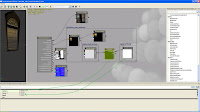
Ok im finally getting somewhere with the effects I was wanting to get for my haunted theme the next step was to animate a materail and get a light to flash in sequence so that when the player enters the corridor it triggers both the light and the materail and also try and add sound to the mix which after a LOT of hair pulling I eventually got :
so how did i get this, here's a breakdown which is quite complicated so here goes:
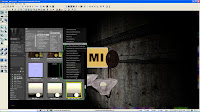
The first thing you notice in the engine is two different icons:
1. Mi- short for Material Instance Actor,the first thing i did was assign this to my map through the main actor browser,once assigned I then copied the original material as a Material Instance and copied it to the mesh
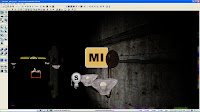
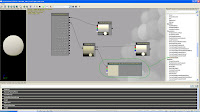
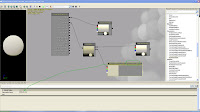
this is the main texture that is on my mesh , i had to make sure I added a Vector Parameter and give it a value and then name it before copying it as a Material Instance this is what will be animated in the Matinee
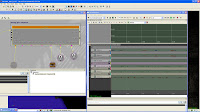 a breakdowwn of the sequence used in Kismet to animate the material and the lights, the first thing to do is assign a VectorMaterialParameter
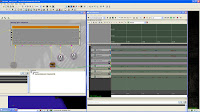
this control;s the brightness of the material by inputting a value of
0= off
1= full brightness
and any altenate values between 0 and 1 will give varing amounts of emissive brightness on the materail.
Then its just a matter of moving the time line everytime a new value is entered.
The next part is to animate the light themselves , this is acheived by firstly adding a Pointlighttogglable to my map
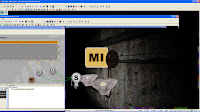
once this is assigned it into Matinee:
 the brightness is controlled with a group called
NewFloat Property Track and a value given for the brightness from 0 -1 just like I did for the materials earlier , and again using alternate values I can control the brightness of the light:
No comments:
Post a Comment